Meals · High Protein
Cold-Pan Crispy Chicken Thighs with Smashed Potatoes and 46g Protein (46g Protein)
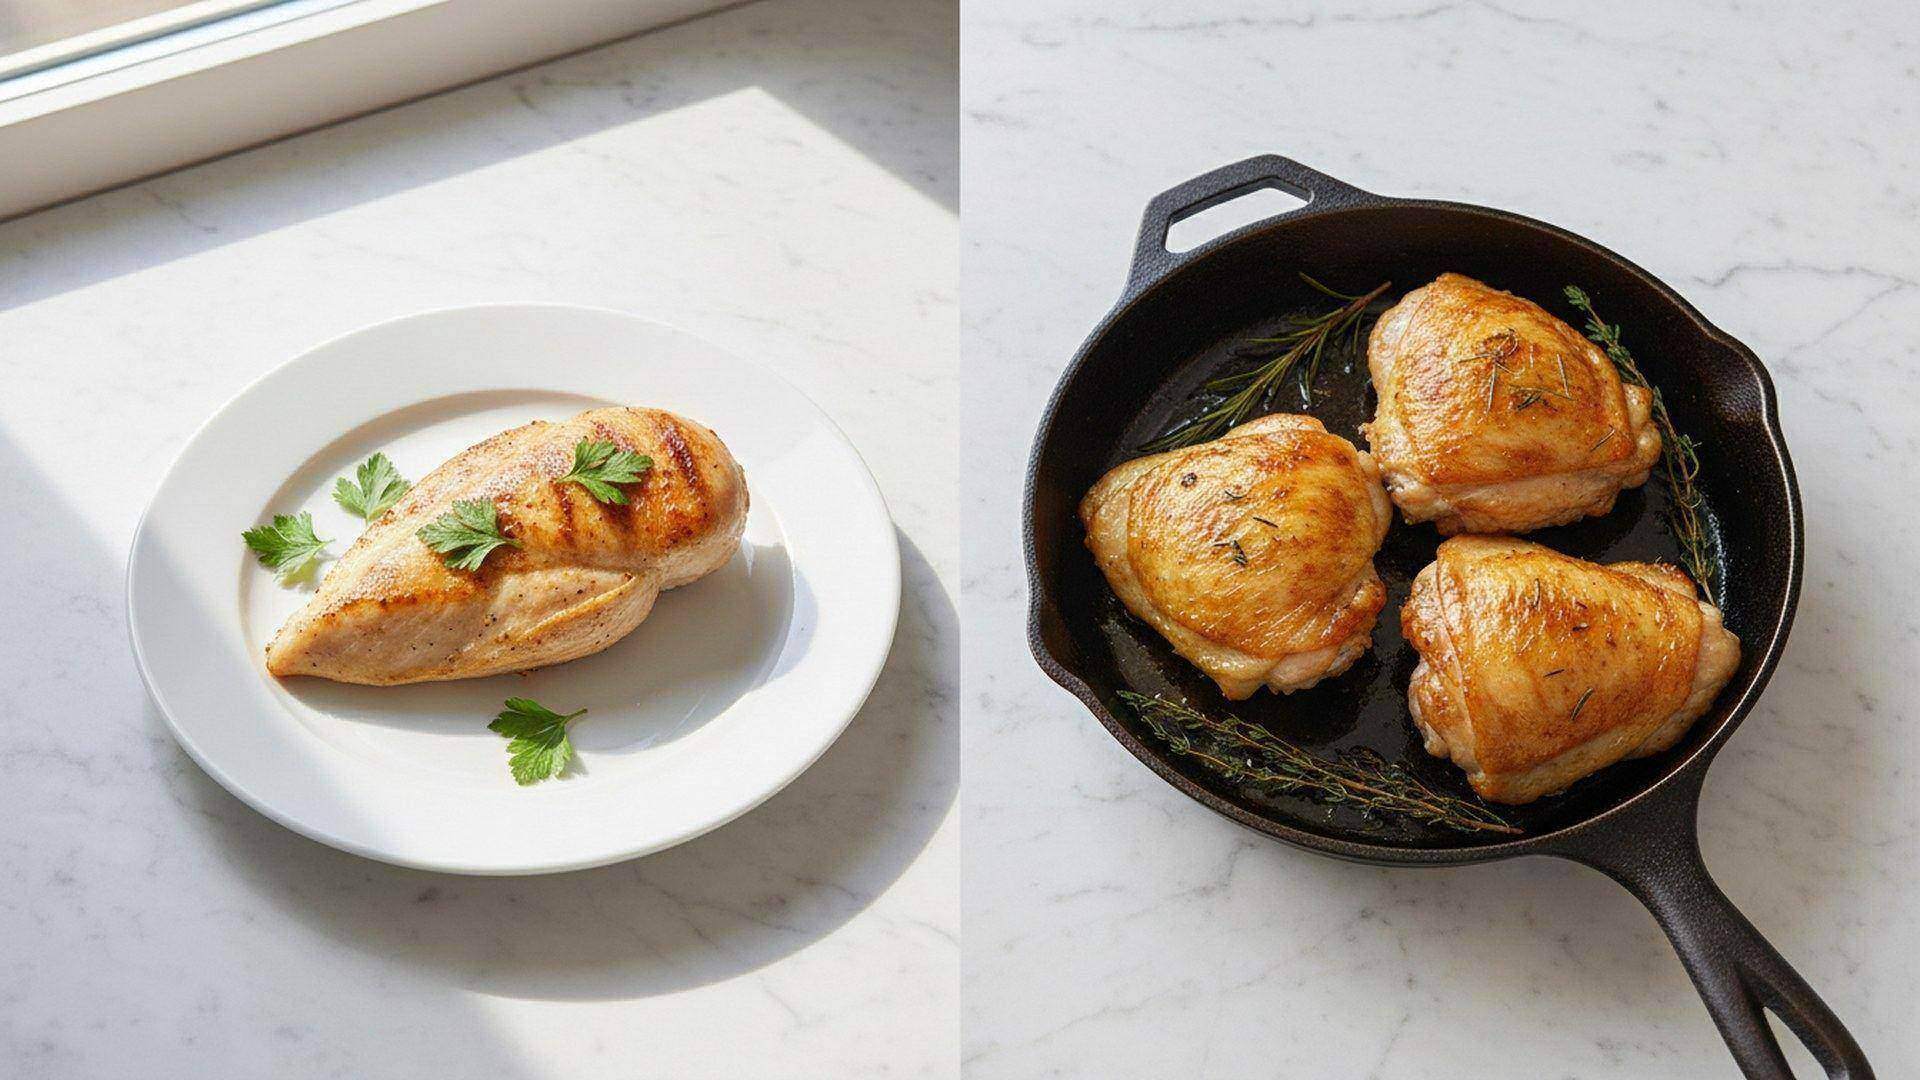
This Cold-Pan Crispy Chicken Thighs with Smashed Potatoes delivers 46g protein and 676 calories per serving. Bone-in, skin-on thighs start in a cold pan and render fat slowly over 20 minutes for skin that shatters on contact. The rendered chicken fat then roasts the smashed potatoes to a crispy finish. A lemon-parmesan arugula salad adds freshness and an additional 12g protein from the parmesan.
Nutrition per serving
- Protein
- 46 g
- Calories
- 676
- Carbs
- 33 g
- Fat
- 40 g
Nutritional values are estimates based on standard ingredient data and may vary by brand or preparation method. This information is for general reference only and is not a substitute for professional dietary advice. Consult a healthcare provider or registered dietitian for personalized nutrition guidance.
Ingredients
- 4 bone-in, skin-on thighs (~680g total) chicken thighs — 4 bone-in, skin-on thighs (approximately 680g total with bones, yielding approximately 440g edible raw meat plus skin after bone removal); pat completely dry with paper towels
- 340g (12 oz) baby potatoes baby potatoes — about 12 oz or 18-20 small potatoes; halved before boiling
- 60g (about 3 cups) arugula arugula — about 3 loosely packed cups
- 28g (1 oz) parmesan, shaved parmesan — 1 oz, shaved or coarsely grated for the salad
- 21g (1.5 tbsp) butter butter — 1.5 tbsp; for basting the chicken in the final stage
- 19g (1 tsp + 1 tbsp) olive oil olive oil — about 1 tsp for the pan plus 1 tbsp for roasting potatoes; use the pan tsp only if using stainless steel
- 3 cloves garlic, smashed garlic cloves — 3 cloves, smashed flat with the side of a knife; skin left on
- 4 sprigs fresh thyme fresh thyme — 4 sprigs; added to the pan during the basting stage
- 1 lemon lemon — 1 lemon; juice half for the salad dressing, cut the remaining half into wedges for serving
- 1 tsp kosher salt, divided kosher salt — divided: half for the chicken, half for the potato boiling water
- 1/2 tsp black pepper black pepper — freshly ground; use on chicken and potatoes
Steps
- Boil the potatoes first since they need the most time. Bring a medium pot of salted water to a boil. Add the halved baby potatoes and cook until a fork slides in with no resistance, about 12-15 minutes. Drain and spread onto a cutting board. Using the flat bottom of a measuring cup or a heavy glass, press each potato half firmly until it cracks open and flattens to about 1/2 inch thick. Do not press so hard it falls apart into pieces. Season with a pinch of salt and black pepper and set aside.
- Pat the chicken thighs completely dry on all surfaces with paper towels, including the underside and the fold of skin at the edges. Any visible moisture on the skin will turn to steam in the pan and block crisping. Season generously with salt and black pepper on all sides. If time allows, rest the seasoned thighs uncovered at room temperature for 20-30 minutes. This step is optional but worth it.
- Place a large cast iron or stainless steel skillet on the stove. Do not turn on the heat yet. If using stainless steel, add 1 tsp olive oil and spread it across the bottom. If using cast iron, skip the oil. Place the chicken thighs skin-side down in the COLD pan. Starting in a cold pan is the opposite of standard searing advice, but it is the whole technique. A preheated pan seizes the skin proteins before the fat beneath them can render, leaving the skin chewy and soft underneath even if it browns on the surface. Starting cold lets the fat render out gradually as the pan heats up, so by the time browning begins the skin is already thin, dry, and on its way to becoming rigid and crispy.
- Set the burner to medium heat. Do not use high heat. Over the first 5 minutes you will hear the sizzling increase steadily from silence to a moderate, consistent sound. Place a second heavy pan on top of the thighs, or use a foil-wrapped brick or heavy lid. This weight keeps the skin in full contact with the pan surface. Chicken skin naturally contracts and arches away from a hot surface; pressing it flat ensures every part of it crisps evenly instead of leaving pale soft patches where the skin lifted. Leave the weight on for the first 10-12 minutes.
- Cook skin-side down for a total of 18-22 minutes. Adjust the burner if needed to keep the sizzle active but not aggressive. Do not move the thighs. They will stick at first because the skin is still rendering. This is normal. At the 15-minute mark, slide a thin spatula under one edge of a thigh. If it releases cleanly, the skin is ready. If it resists, wait another 2-3 minutes. Never force it. The skin should reach a deep mahogany brown, not pale gold. When skin is deep brown and releases cleanly, flip all thighs flesh-side down.
- Add the smashed garlic and thyme sprigs to the pan. Add the butter and let it melt into the rendered chicken fat. Tilt the pan slightly toward you so the fat pools, then use a large spoon to continuously spoon the hot garlic-thyme butter over the tops of the thighs for 3-4 minutes. This basting finishes cooking the flesh side and infuses the meat with garlic and thyme. Cook until the internal temperature reads 165F (74C) in the thickest part away from the bone using an instant-read thermometer. Remove thighs to a wire rack, not a plate. Rest for 3 minutes.
- While the chicken rests, roast the smashed potatoes. Pour 1-2 tablespoons of the rendered chicken fat from the pan onto a baking sheet (or use the 1 tbsp olive oil). Arrange the smashed potatoes on the sheet and roast in an oven preheated to 425F (220C) for 10-12 minutes until the edges are crispy and golden. Alternatively, fry the potatoes directly in the same skillet with the residual fat over medium-high heat for 4-5 minutes per side until crispy.
- Make the salad while potatoes roast. Squeeze the juice of half the lemon into a small bowl. Whisk in a pinch of salt. Toss the arugula in the dressing and scatter the shaved parmesan over the top. Serve the chicken thighs alongside the crispy smashed potatoes and the arugula salad. Add a lemon wedge to each plate.
Why This Works
The cold-pan technique and the smashed potato component are connected by a single ingredient: the rendered chicken fat. As 440g of bone-in skin-on thighs cook skin-side down for 20 minutes, roughly 36g of subcutaneous fat renders out of the skin into the pan. That fat is not a byproduct to discard. It is the cooking medium for the potatoes. Potatoes roasted in chicken fat develop a crispier crust and deeper savory flavor than potatoes roasted in olive oil alone, because chicken fat has a higher smoke point and more fat-soluble compounds that adhere to the potato surface. The cold-pan start for the chicken is the mechanism that drives both outcomes: crispy skin AND a generous yield of flavored cooking fat. Starting the chicken in a preheated pan would seize the skin proteins before the subcutaneous fat could render, producing browned but chewy skin, and leaving the pan nearly dry. The fat renders slowly only because the skin temperature rises gradually with the pan.
The Cold-Pan Method Explained
Most pan-searing instructions say to preheat the pan until hot before adding protein. The cold-pan method for chicken skin works the opposite way. Here is why the standard logic fails for skin-on chicken: skin is not pure muscle protein. It contains a thick layer of fat cells between the outer dermis and the meat below. When you lower raw skin into a preheated pan at high heat, the outer proteins lock up immediately into a rigid layer. That rigid layer traps the fat beneath it. The fat cannot escape, so the skin stays thick and soft underneath the browned surface. Starting cold changes the sequence. As the pan heats from room temperature to 300F over the first five minutes, the fat cells warm up and begin to liquefy. The fat drains from the skin into the pan before any protein-seizing (Maillard browning) can happen. By the time the pan reaches browning temperatures (around 300-350F), the skin is already thin and largely defatted. What remains is a collagen-reinforced shell that dries out further and crisps to a rigid, translucent texture. The pressing weight matters for the same reason: chicken skin contracts away from heat. A second pan or a brick keeps every part of the skin in full contact with the hot surface so no soft patches form where the skin arched away.
Smashed Potato Technique
Smashing potatoes before roasting solves a geometry problem. Whole baby potatoes have a thick outer skin that blocks heat from reaching the starchy interior quickly enough for the outside to crisp before the inside overcooks. Halving helps, but the flat cut surface is the only crispy face. Smashing creates three to four irregular fractured edges per potato half, each of which becomes a crispy surface in the fat. The key step is boiling first. The potatoes must be fully cooked before smashing, so that pressing does not force raw starch out into a glue that binds the potato to the pan. Fully cooked potatoes smash into dry, fluffy pieces that hold their shape and crisp quickly in fat. The chicken fat from the pan replaces the tablespoon of olive oil at this stage. Chicken fat contains a mix of saturated and monounsaturated fats with a smoke point around 375F, which means it can handle the 425F oven temperature without burning.
Adapting from the Source
Adapted from J. Kenji Lopez-Alt's cold-pan crispy chicken thigh method (Serious Eats). Our version differs in three ways. First, it is a complete dinner: smashed potatoes and a lemon-parmesan arugula salad are built around the same pan, not a standalone technique exercise. Second, the rendered chicken fat is explicitly used to roast the potatoes, making the fat yield part of the recipe logic rather than a tip at the end. Third, the potato boiling step precedes the chicken to align timing, since potatoes take 12-15 minutes and the chicken needs to go into a cold pan with no rush. The original method stays entirely on the stovetop. Our version uses the oven for the potato finishing step, which frees the stovetop and produces more even crispiness across a full batch of smashed pieces.
Sources Research-Backed
Frequently Asked Questions
Why do I start the chicken in a cold pan instead of preheating first?
Preheating seizes the outer skin proteins before the fat beneath them can render, leaving the skin thick and soft underneath even if it browns on the surface. A cold start lets the subcutaneous fat drain out of the skin as the pan heats up. By the time browning temperatures are reached, the skin is thin, dry, and on its way to becoming a crispy shell.
Can I use boneless skinless thighs instead?
The cold-pan technique specifically works on skin-on thighs. Boneless skinless thighs have no fat layer to render, so the cold-start method provides no benefit. They also have no skin to crisp. If you only have boneless skinless thighs, a standard hot pan sear for 4-5 minutes per side works fine, but expect a different texture result.
What if I do not have a second heavy pan to press the chicken?
A foil-wrapped brick, the flat bottom of a heavy saucepan, or a cast iron lid all work. You need something that covers the entire surface of the thighs and adds downward pressure. A light spatula held by hand is less effective because consistent pressure is hard to maintain and the spatula edge can cut into the skin.
How do I know when to flip the chicken?
Slide a thin metal spatula under one edge of a thigh at the 18-minute mark. If the skin releases cleanly, it is ready. If it resists or sticks, wait 2-3 more minutes and try again. Do not force it. Forced flipping tears the skin. When ready, the skin will be deep mahogany brown and will lift away from the pan without resistance.